So, you're thinking about getting an epoxy floor, huh? Good choice. It's tough, looks great, and can really transform a space, whether it's your garage, basement, or even a workshop. But before you jump in, there are a few things you need to know to make sure your project goes smoothly and you get exactly what you're paying for. I've been doing this for years here in Richland, and I've seen it all.
Your Epoxy Floor Project Timeline
Let's talk about how long this whole thing takes. It's not an overnight job, and anyone who tells you it is probably isn't doing it right. A proper epoxy floor coating involves several steps, and each one needs time to cure. You're usually looking at a 3 to 5-day process from start to finish for most residential projects.
- Day 1: Prep and Base Coat. This is the big one. We'll spend most of the day grinding or shot blasting the concrete, repairing cracks, and then applying the first layer, which is usually the primer or base coat. This needs a good 12-24 hours to cure.
- Day 2: Color Flakes and Top Coat (or second coat). If you're going for a flake system, this is when they get broadcast. Then, depending on the system, we might apply a second colored coat or the first clear top coat. Again, more curing time.
- Day 3: Final Top Coat. For most durable systems, especially those with flakes, you'll get a second clear top coat. This adds depth, UV protection, and extra wear resistance.
- Days 4-5: Curing and Return to Service. This is the waiting game. You can usually walk on the floor lightly after 24-48 hours, but you'll need to keep vehicles off it for at least 72 hours, sometimes up to 5-7 days, depending on the product and humidity. Don't rush this part; it's critical for the longevity of your floor.
What to Expect During the Process
When we're working on your floor, it's going to be a bit of a construction zone. We're using heavy equipment for grinding, so expect some noise. We'll do our best to contain dust, but it's not a completely dust-free process, especially during the prep phase. We'll be running power cords, and there will be some fumes from the epoxy, though modern epoxies are much better than they used to be. We always ensure good ventilation. We'll cover anything we don't want to get dust or epoxy on, like walls or storage cabinets. It's a messy job, but we're pros at keeping it as clean as possible.
How to Prepare Your Space
This is where you come in. The better you prepare, the smoother our job will be, and the less it might cost you in extra labor. Here's what you need to do:
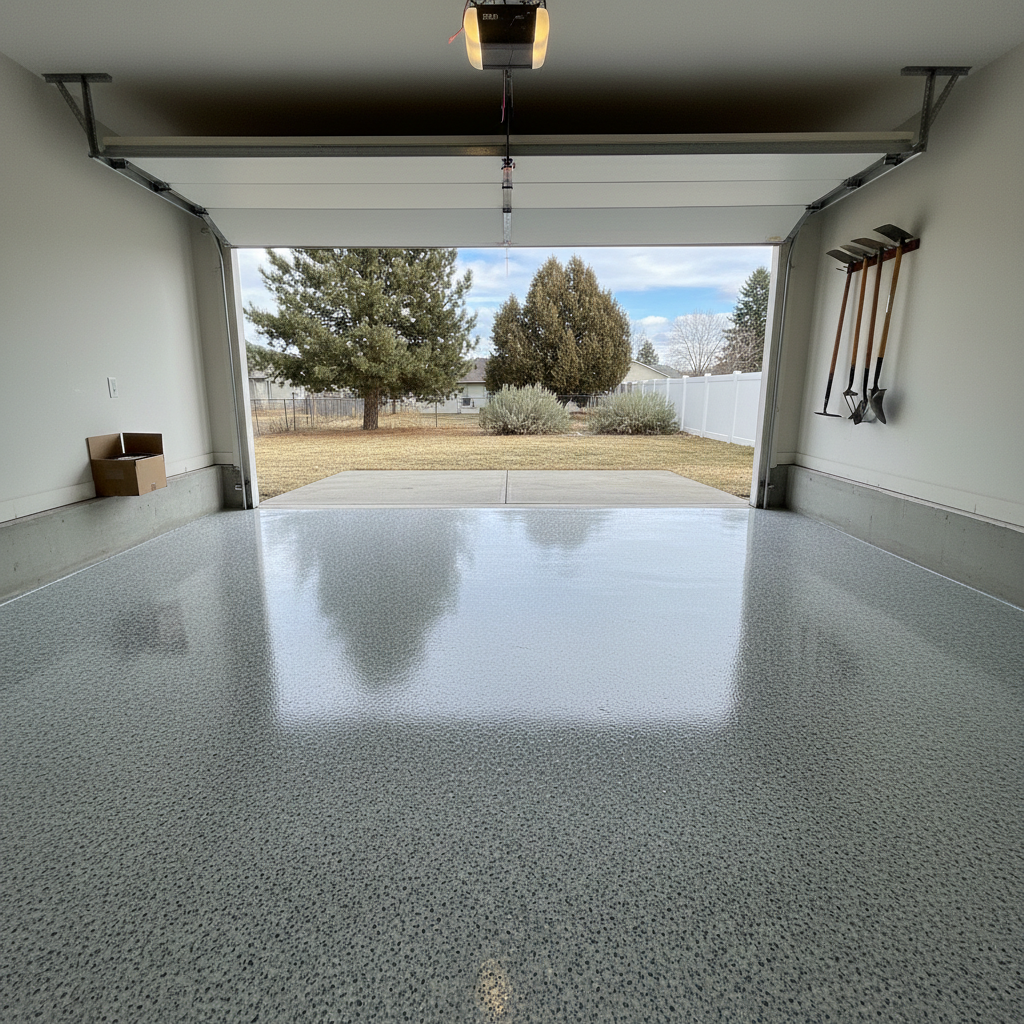
- Empty the Area: This is non-negotiable. Everything needs to go. Tools, boxes, cars, lawnmowers, shelving units – clear it all out. If you've got a lot of stuff, start early. We can't move your belongings for liability reasons, and if we have to wait for you, it can throw off the whole schedule.
- Clean the Floor: Give it a good sweep and hose down if possible. Get rid of loose dirt, leaves, and any major spills. We'll do the deep cleaning and prep, but starting with a relatively clean slate helps.
- Address Moisture Issues: If you've got a basement or garage that tends to get damp, especially here in Richland with our clay soils in some areas, let us know. We might need to do a moisture test. Epoxy doesn't bond well to damp concrete, and ignoring moisture can lead to delamination down the road.
- Plan for Access: Make sure we have clear access to the work area and power outlets. We'll need space to bring in our equipment.
Questions to Ask Before Signing a Contract
Don't just go with the first quote you get. Ask questions. Any reputable contractor, like us at Richland Painting Company, will be happy to answer them. If they hem and haw, that's a red flag.
- What kind of prep work do you do? The answer should be mechanical prep, like grinding or shot blasting. Acid etching isn't enough for a durable epoxy floor.
- What type of epoxy system are you using? There are different kinds (100% solids, water-based, polyaspartic topcoats). Understand what you're getting.
- How many coats will you apply? A good system usually involves at least a primer/base coat and one or two topcoats.
- What's the warranty on your work and materials? Get it in writing.
- Are you licensed and insured? Always, always ask this. You don't want uninsured workers on your property.
- Can you provide references or show me examples of your work? A good contractor will have a portfolio.
- What's your process for repairing cracks or spalling? This is crucial for a smooth, long-lasting finish.
- How long until I can walk on it, and how long until I can drive on it? Get clear expectations for return-to-service times.
- Are there any hidden costs? Make sure the quote is comprehensive and covers everything from prep to materials to labor.
Getting an epoxy floor is an investment, and like any big home improvement project, it pays to be informed. Do your homework, ask the right questions, and you'll end up with a beautiful, durable floor that lasts for years. We're always happy to talk through your project ideas and give you an honest assessment.